Thanks for checking out my video. Have a wonderful weekend!!
Showing posts with label Mini Album. Show all posts
Saturday, October 12, 2013
Chipboard Church Mini Album
I'm so excited to share this new project I created. You know how I love to make mini albums. This is like a mini album all dressed up.
Thanks for checking out my video. Have a wonderful weekend!!
Wednesday, August 7, 2013
We R Memory Keepers Guest Designer
I am so excited! Today I am the guest designer over at the We R Memory Keepers Blog
I was sent the Storytime paper collection and told to make something great. Using the Envelope Punch Board I created this mini album. Aren't the papers so cute!
Here's the cover of the mini album!
Check out my video tutorial on how I created this mini album.
Head on over to the We R Memory Keepers Blog and see my entire post. It was such a privilege to create a project for this great company.
Saturday, July 13, 2013
Baby Girl Violet Envelope Mini Album
Hi everyone! Another gorgeous summer day here. Hope your weather is beautiful wherever you may be.
Today I'm sharing an envelope mini album I created using the "Baby Girl" mambiKIT by My Big Ideas. The video below is a step-by-step tutorial on my mini album process. I show how I take this kit (with papers, embellishments, stickers) and create my own additional embellishments. Then I show how I layout my pages. Finally you get to see the whole album put together.
I always enjoy watching how others gather inspiration and how their creative process works. I learn something new every time. I hope you learn something here to. And enjoy my mini album.
Today I'm sharing an envelope mini album I created using the "Baby Girl" mambiKIT by My Big Ideas. The video below is a step-by-step tutorial on my mini album process. I show how I take this kit (with papers, embellishments, stickers) and create my own additional embellishments. Then I show how I layout my pages. Finally you get to see the whole album put together.
I always enjoy watching how others gather inspiration and how their creative process works. I learn something new every time. I hope you learn something here to. And enjoy my mini album.
This is the kit I used.
Thanks for watching everyone! If you have a mini album you'd like to share, I'd love to take a look. Just send me a link in the comment section below and I'll come take a look.
Monday, July 8, 2013
October Afternoon Mini Books
Happy Monday everyone. I am fresh off a week's vacation with my wonderful family. We had so much fun swimming, cooking, fishing, and hanging out. How blessed am I!
Before I left for vacation I made these mini books for my nieces and nephews. I thought it would be cute to have them make books of their own. Well, I made the books, but they created the stories.
This is how I made them...
Before I left for vacation I made these mini books for my nieces and nephews. I thought it would be cute to have them make books of their own. Well, I made the books, but they created the stories.
This is how I made them...
I took an 8 1/2 x 11 piece of white printer paper.
I cut a piece 4 inches high and 8 1/2 inches long.
I scored it in half at 4 1/4 inches.
Then I trimmed it to 4 inches.
I took a piece of twine and tied the paper together to form a book.
I used October Afternoon 8x8 paper for the cover.
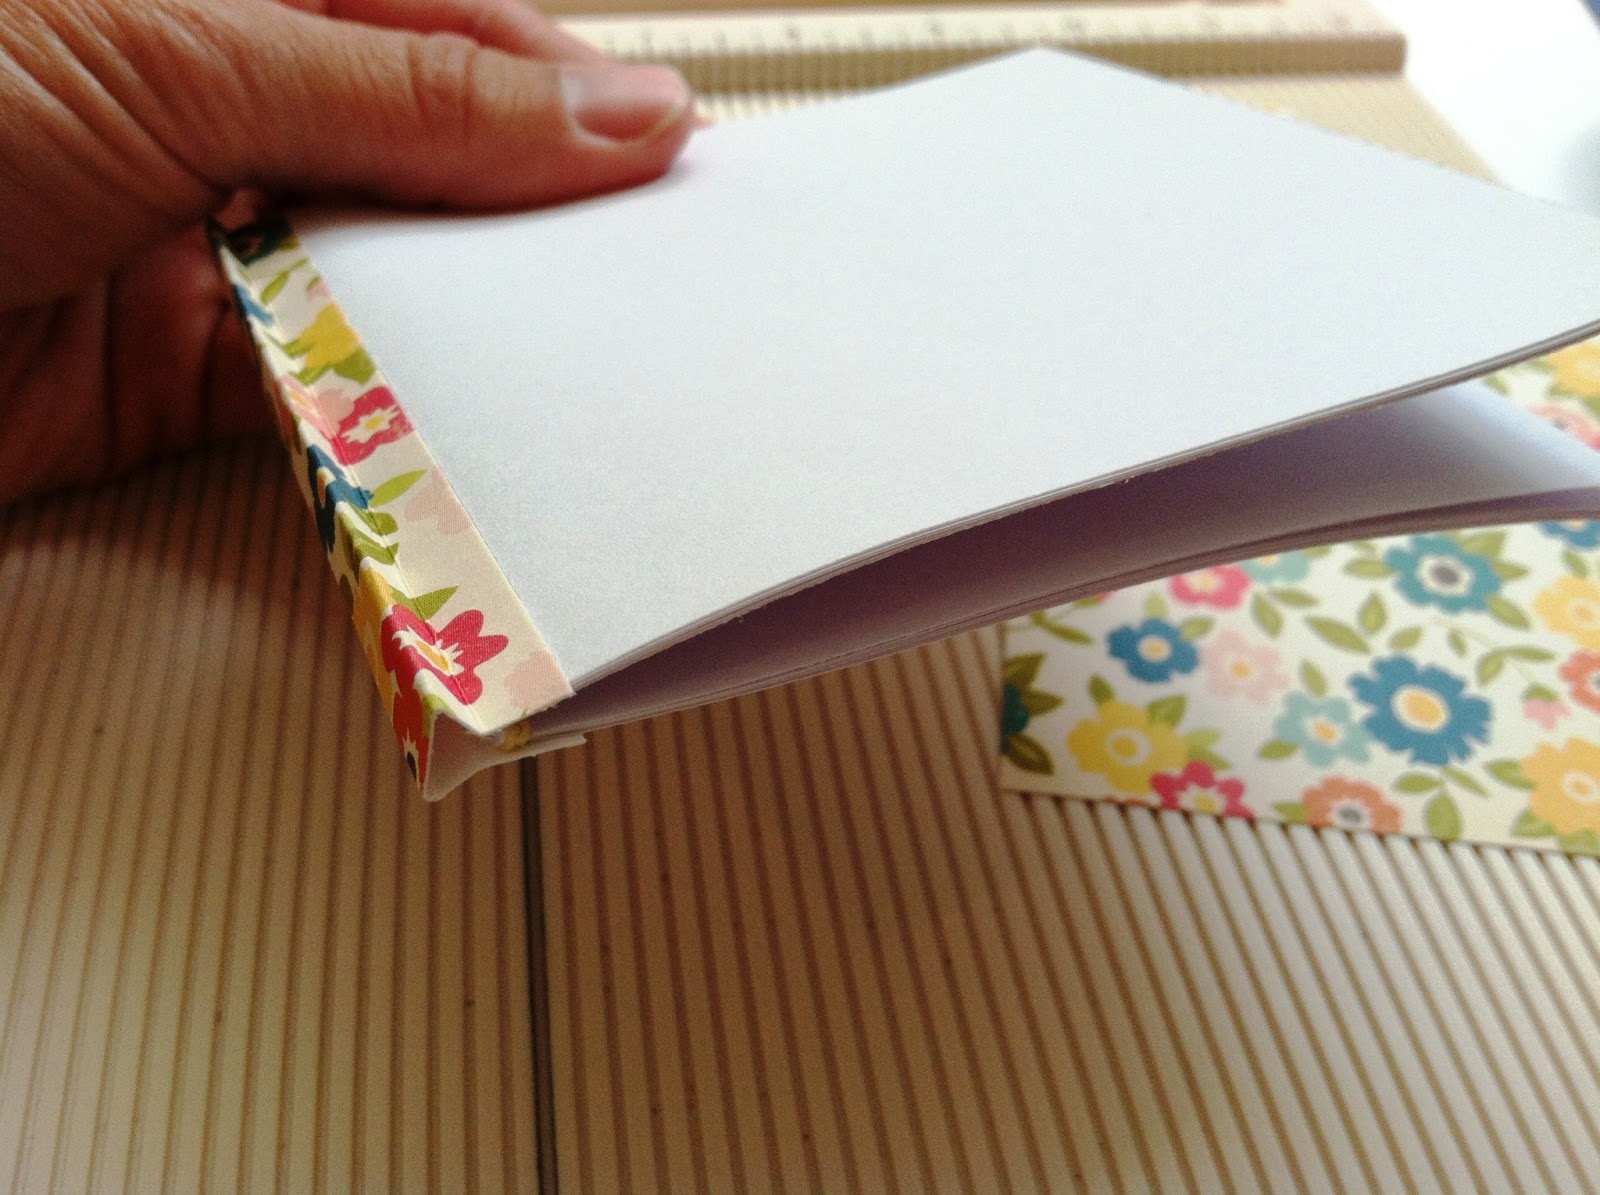
Here, I cut a piece of cardstock 1 inch wide by 4 inches tall.
Then I scored that piece at 1/4 inch, 3/8 inch, 5/8 inch, and 3/4 inch.
Then I fold the cardstock to look like the above piece.
I adhered this "book edge" piece to the paper pages.
Then I cut 2 pieces of matching cardstock 4x4 and adhered it to the front and back paper pages.
Now my mini book is created.
I made 6 little books.
The circles in the center were paper punched for the title of the books.
Supplies
October Afternoon "Woodland Park" 8x8 paper pad
found here for $8.75
Hope you enjoyed this little project. It was a big hit with the kiddos. And a fun project for me to make!
Monday, May 13, 2013
"Blast Off" Mini Album
Happy Monday to you all. I hope those of you who are mommies had a wonderful stress-free Mother's Day yesterday. I did! No cooking or cleaning for this mommy.
Today I am sharing a mini album I created using the Bo Bunny "Blast Off" 6x6 paper pad. It's an oldie, but a goodie. I was so inspired by all the photo frame cards, from the NSD blog hop, that I created this photo frame mini album.
Here's a quick video showing this album all put together.
Today I am sharing a mini album I created using the Bo Bunny "Blast Off" 6x6 paper pad. It's an oldie, but a goodie. I was so inspired by all the photo frame cards, from the NSD blog hop, that I created this photo frame mini album.
Here's a quick video showing this album all put together.
Supplies:
check out all the 6x6 paper pads here
check out all the washi tape here
Have a wonderful week everyone! Don't forget to check out the Pumpkin Spice Blog and enter this week's Challenge #19 : flowers. Go to the direct link here and enter your own project.
Monday, April 29, 2013
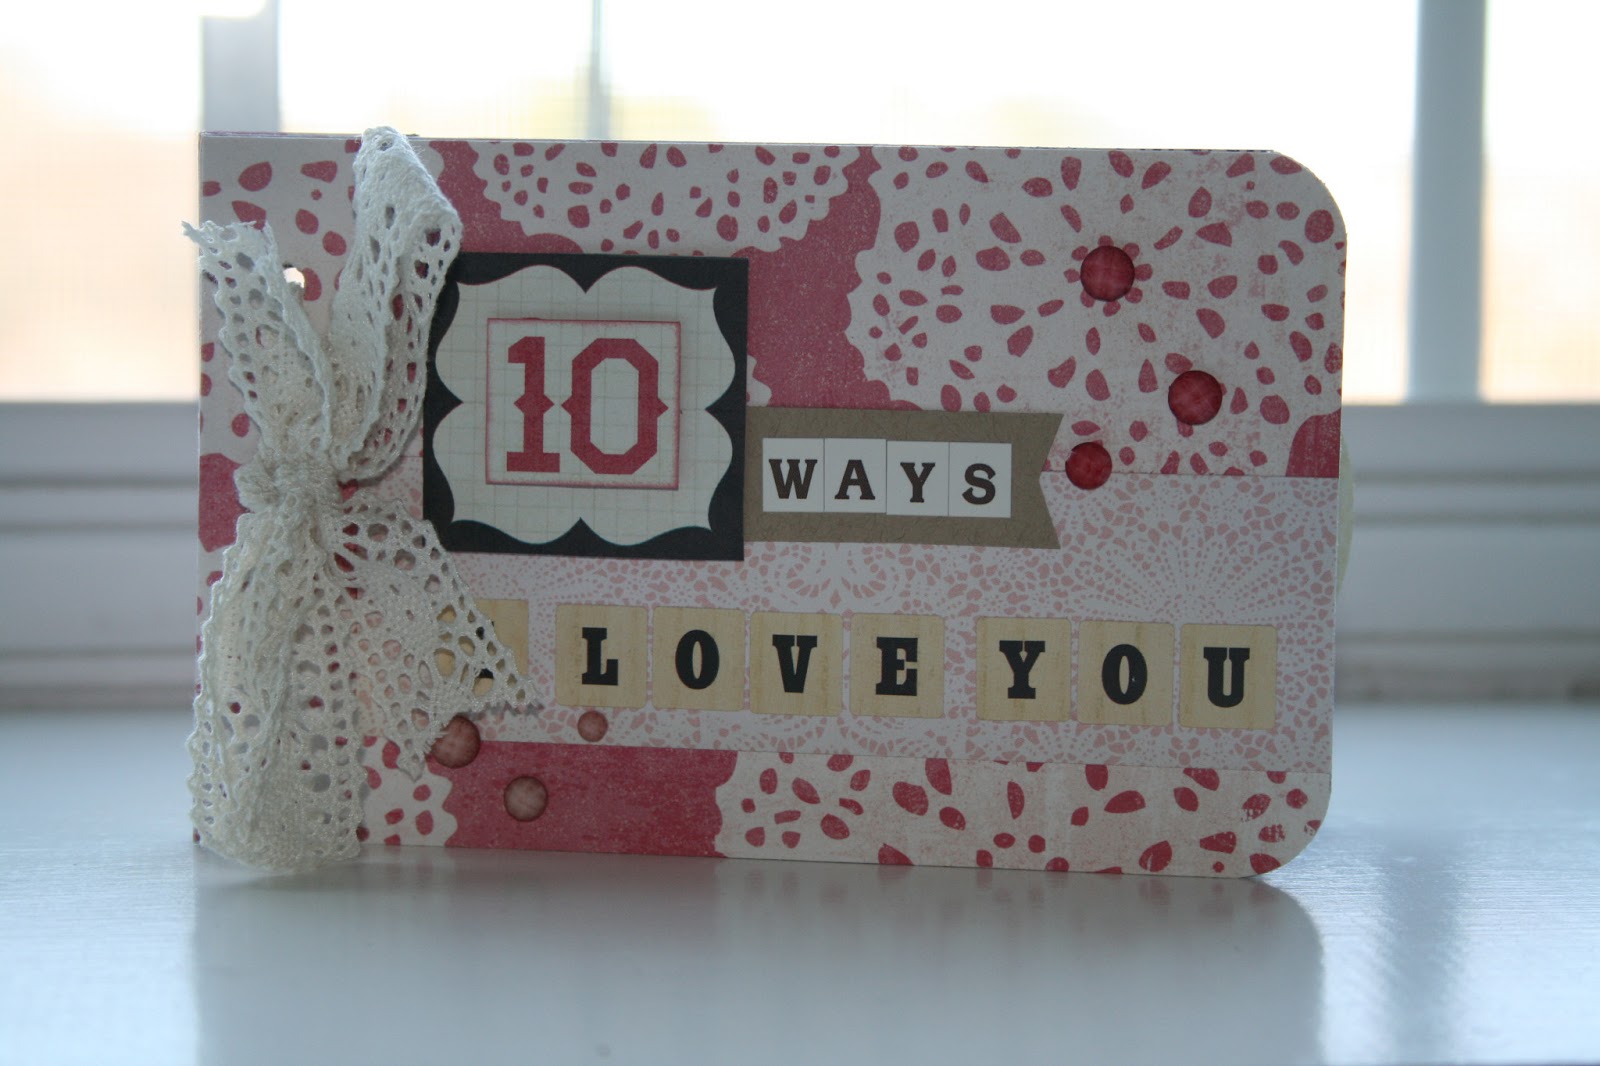
"10 Ways I Love You" Mini Album
Happy Monday crafty friends.
Today I'm sharing a mini album that I created using the My Mind's Eye "Sweetest Thing" collection. I'm just in love with the pinks and yellows in this collection. Gorgeous papers!
This mini album is inspired by the book binding / mini album making designs of one super talented Laura Denison. My favorite thing about this album is that you can use the patterned paper of a 6x6 paper pad and put it together SO QUICKLY.
Here is a video I created showing how to make the covers and pages and how to bind the mini album together.
Today I'm sharing a mini album that I created using the My Mind's Eye "Sweetest Thing" collection. I'm just in love with the pinks and yellows in this collection. Gorgeous papers!
This mini album is inspired by the book binding / mini album making designs of one super talented Laura Denison. My favorite thing about this album is that you can use the patterned paper of a 6x6 paper pad and put it together SO QUICKLY.
Here is a video I created showing how to make the covers and pages and how to bind the mini album together.
Supplies:
My Mind's Eye "The Sweetest Thing" - Honey
found here for $4.19
My Mind's Eye "The Sweetest Thing" - Happiness
found here for $0.69
Say It in Crystals Adhesives
found here for $2.10
Echo Park "This & That" Graceful Alphabet stickers
found here for $2.09
Bazzill Kraft cardstock
found here for $0.28
ribbon from my stash
Tags Bags Boxes and More 2
Measurements for the Mini Album:
Pages:
1. Take an 8 1/2 x 11 paper cut to 5 3/4 x 8 3/4.
2. Score along the long edge at 3/4.
3. Score along the short edge at 1/2 and 4 and 7 1/2.
4. Punch decorative edge along the 1 1/4 side.
5. Fold and adhere paper as seen in the video.
Patterend Paper mats:
1. Measure 3 x 4 1/2.
2. Cut 6 mats.
Tags:
1. Large tags measure 3 1/4 x 5. Cut 3.
2. Small tags measure 3 x 2. Cut 3.
Covers:
1. Cut patterned paper to 3 3/4 x 6. Cut 4.
2. Cut thin chip board to 3 3/4 x 6. Cut 4.
3. Cut 3/4 off one end of the chip board. Cut a sliver (1/16) off of 3 inch piece.
4. Adhere and fold as seen in the video.
Don't forget to check out this week's challenge at the Pumpkin Spice Blog.
And check out all the amazing deals at the Shop Pumpkin Spice.
Have a fabulous week everyone. I hope spring has sprung where you live.
Monday, January 21, 2013
"Winter Wonderland" December Daily
Happy Monday darling crafters.
Today I'm posting my "almost" finished December Daily!! I just have to add the pictures and journaling (which are all saved and ready to go) to make this album complete. I am really happy with the way it turned out. And it was so fun to make!!
Here is a video showing the entire album. I explain what products I used and how I put it together.
Today I'm posting my "almost" finished December Daily!! I just have to add the pictures and journaling (which are all saved and ready to go) to make this album complete. I am really happy with the way it turned out. And it was so fun to make!!
Here is a video showing the entire album. I explain what products I used and how I put it together.
Here's a pic of the front cover before I bound it.
Supplies
My Mind's Eye "Winter Wonderland" paper collection and embellishments
all found here
|
|||||||
|
|||||||
|
|||||||
|
Doodlebug "Christmas Twine" spool
found here for $2.09

Stickles "Frosted Lace"
found here for $1.53
Felt
Thickers
Metal Dies
Edge Punches
Cricut Cartridges
Solid Colored Cardstock
I'm so happy to announce that some Christmas papers and embellishments will be going on clearance at the Shop Pumpkin Spice Store. I bought all the pictured product above from this amazing online store, and the prices are amazing!!
Head on over to the Pumpkin Spice Blog for daily inspirations of crafty goodness using delights from the store. And there is a weekly challenge to enter and prizes to win.
Saturday, January 5, 2013
"Shop Pumpkin Spice" January Blog Hop
Hello hoppers!! Welcome to the first blog hop of 2013 for the amazing Pumpkin Spice Blog.
Challenge: New Years! Make something that makes you think of New Years! Be creative and have fun!
For this challenge I created a 2013 Pocket Calender.
I am SUPER particular when it comes to calendars. I mean super!! I have bought and thrown out so many over the years cause they didn't work right. Weird huh. So this year I made my own.
I created the calendar layouts on a Word document. Then I printed them on white cardstock. The best thing is I made them fit perfectly on a 6x6 piece of paper. I used some chipboard for the covers to give it some strength. Then I covered that with cardstock as well. I bound it all together using my Cinch.
I used washi tape and come banner stickers for the front cover.
Of course I have a pen Velcro-ed on the inside.
Plenty of room to write in each square.
See my cute little twine bookmark.
Gotta love the paper too!
Supplies
My Mind's Eye "All is Bright" paper
and element stickers
found here
Echo Park "Everyday Eclectic" paper
found here
washi/decorative tape found here
My Mind's Eye "All is Bright" twine
found here
Missy: www.quickchickdesigns.blogspot.com
Tanya: http://little-scrapper.blogspot.com
Agnes (FLOWERDISCO): http://flowerdiscosscraphut.blogspot.com
Cheryl (Shestamps): http://shestamps.blogspot.com
Heather: www.housesbuiltofcards.blogspot.com
Marlene: http://scrappincookie.blogspot.com
Court: http://www.courtscrafts.blogspot.com
Carissa: http://happilyeverpapercrafter.blogspot.com
Saundra: http://luvscrappingtogether.blogspot.com
Lezlye: http://lezlyes.blogspot.com
Denine www.pumpkinspiceblog.blogspot.com
We'd love for you to participate in the challenge by creating your own "New Year's Theme" project. Just link it to the Pumpkin Spice Blog for a chance to win some prizes.
Now on to the next stop. Check out my super talented friend Saundra.
Tuesday, December 4, 2012
"All is Bright" Matchbook Mini Album
I'm so glad you're back again today. I have another mini album to share with you. This one is called a "Matchbook Mini" and it's inspired by the creations of Laura Denison. This mini was a delight to create and it didn't take very long. I followed all the instructions from Laura's blog. Click here to read her blog post and follow along with her simple instructions.
The paper that I used to create this mini is the My Mind's Eye "All is Bright" paper line. This paper and all the embellishments are just beautiful! I loved the soft vintage colors and the chevron and hexagon accents.
Here is a video showing my completed album.
The paper that I used to create this mini is the My Mind's Eye "All is Bright" paper line. This paper and all the embellishments are just beautiful! I loved the soft vintage colors and the chevron and hexagon accents.
Here is a video showing my completed album.
Supplies:
MME "All is Bright"
paper and embellishments can be found here
Don't forget to pick up the December card kit "Wonderland Fun" found here. It's a great kit to have to create some super delightful Christmas projects. It's also the perfect gift to give that crafter that loves loves loves beautiful paper!
Come back later this week for some Christmas projects and for some giveaways. See you then!!
Subscribe to:
Posts (Atom)